How to Export Odoo List View Data to Excel (Odoo 16, 17, 18, 19)
Three ways to get data out of an Odoo list view and into Excel: Export All, the Export dialog, and quick copy - with the differences between Odoo 16 and 17+.

Getting data from Odoo into Excel is one of the most common daily tasks for sales, accounting and inventory teams. Odoo has a built-in export, but where the button lives changed between versions - and many users can't find it at all. This guide covers every option.
Option 1 - "Export All": the whole list in one click
"Export All" downloads the current list view as an Excel file, with exactly the columns you see and the current filters and grouping applied.
- Odoo 16: click the download icon button next to the New button in the list view toolbar.
- Odoo 17, 18 and 19: click the gear icon next to the view title (breadcrumb) and choose Export All. It only shows when no records are selected.
Tip: filter and group the list first, then export - Odoo exports what you see.
Option 2 - The Export dialog: pick fields and format
Use this when you need specific fields (including ones not shown as columns) or a CSV file.
- Select records with the checkboxes (or the header checkbox, then Select all).
- Open the Actions menu (gear icon) and click Export.
- Choose the fields on the left, reorder them on the right.
- Pick the Export Format: XLSX or CSV.
- Optionally save the field list as a template to reuse later.
"I want to update data (import-compatible export)" - tick this only if you plan to edit the file and import it back. It exports technical values and external IDs instead of the display values, which is great for re-import but less readable for reports.
The Export button is missing?
Export is controlled by an access right. If a user can't see Export or Export All:
- Go to Settings → Users, open the user, and enable Access to export feature (the
base.group_allow_exportgroup; the checkbox may only be visible in developer mode). - A developer can also disable Export All on a specific list view with
export_xlsx="0"on the<list>/<tree>element - check the view if the right is already granted.
Option 3 - Just need a few values? Copy instead of export
Exporting is overkill when you only need one email address, a reference number or a single column to paste into a spreadsheet. Downloading a file, opening it and copying from it takes far more clicks than the task deserves.
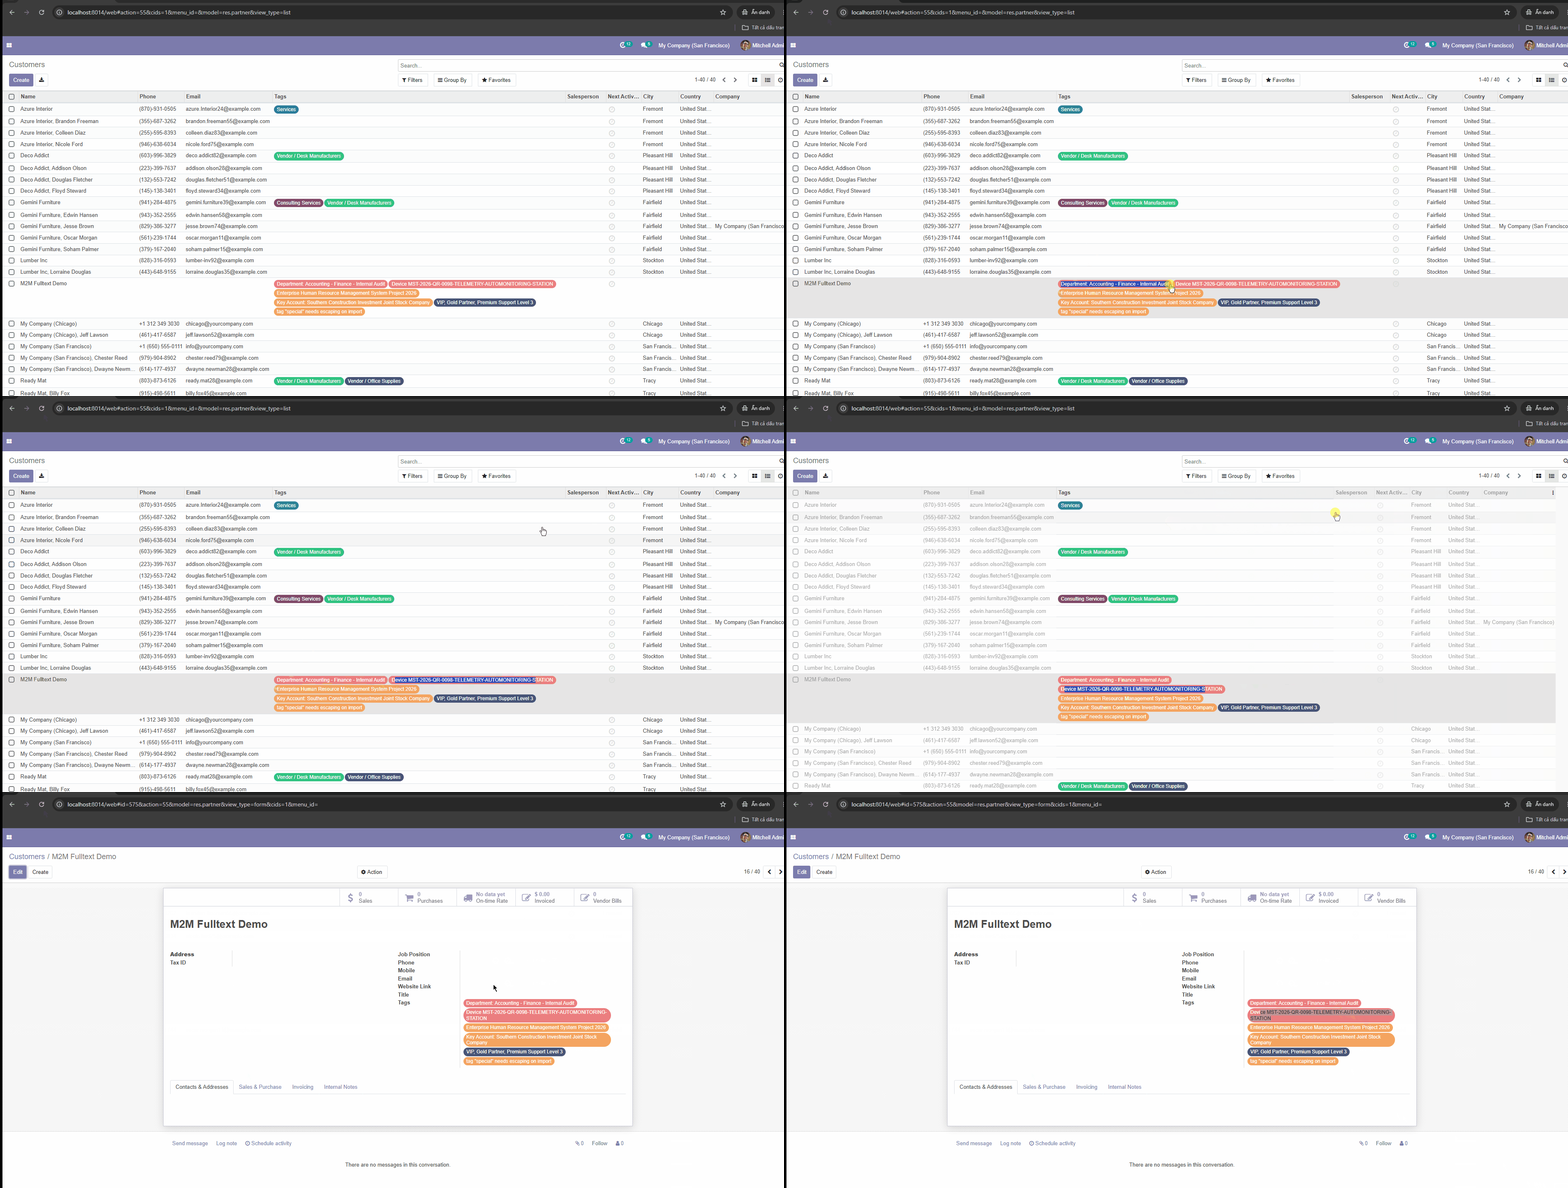
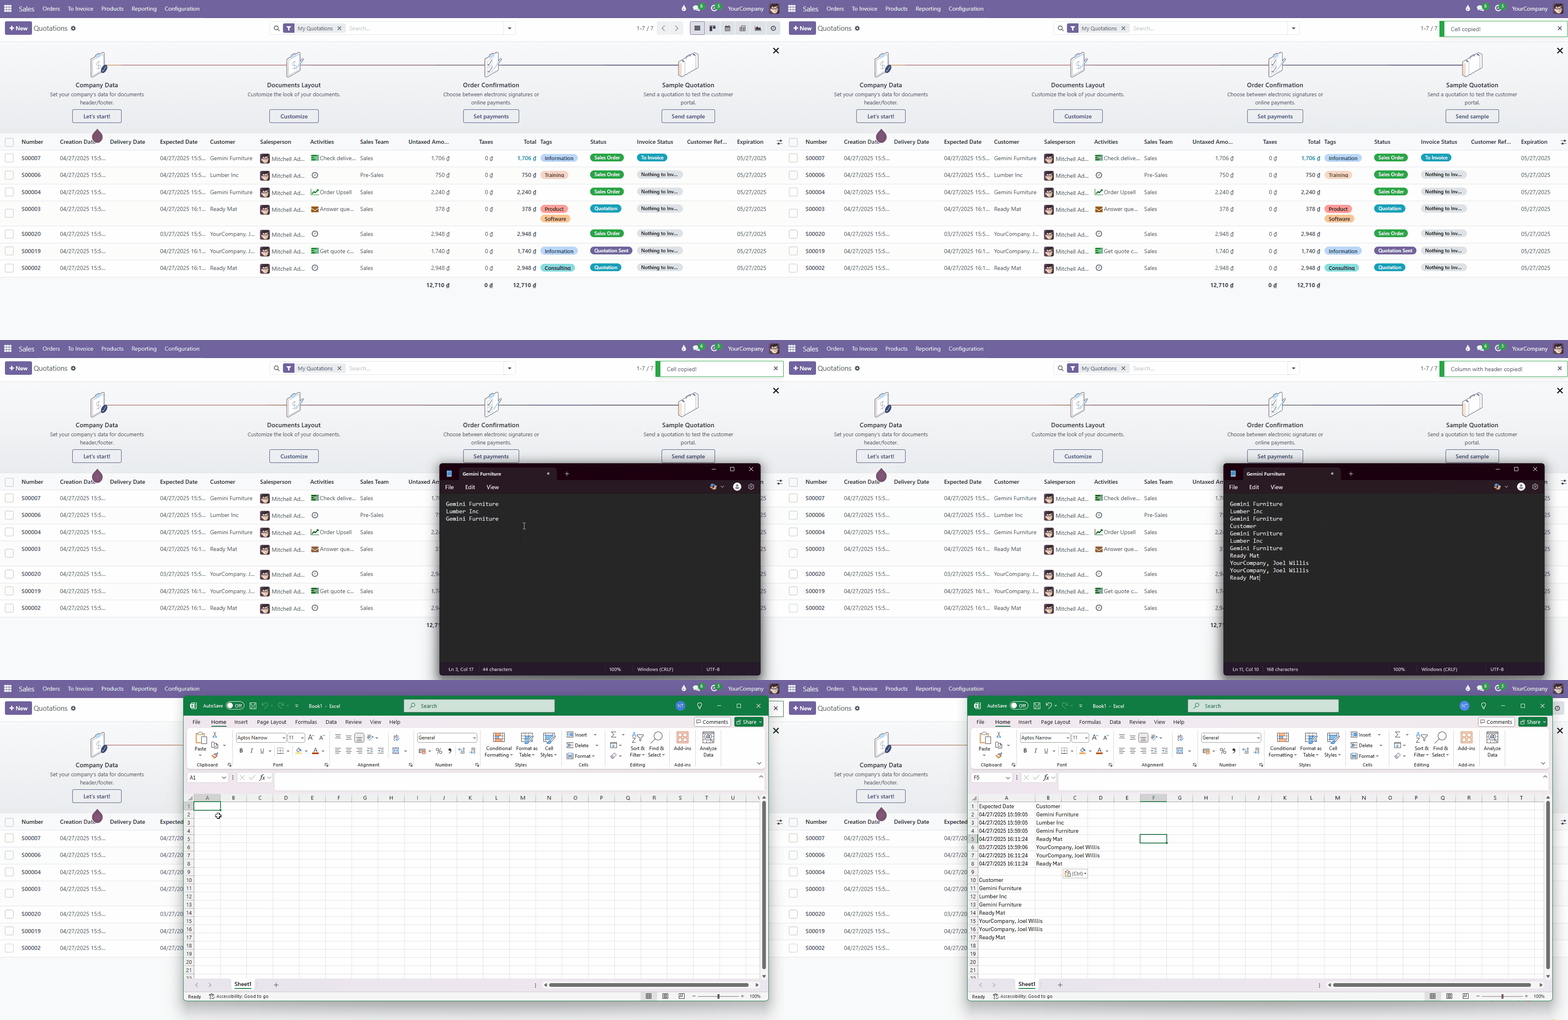
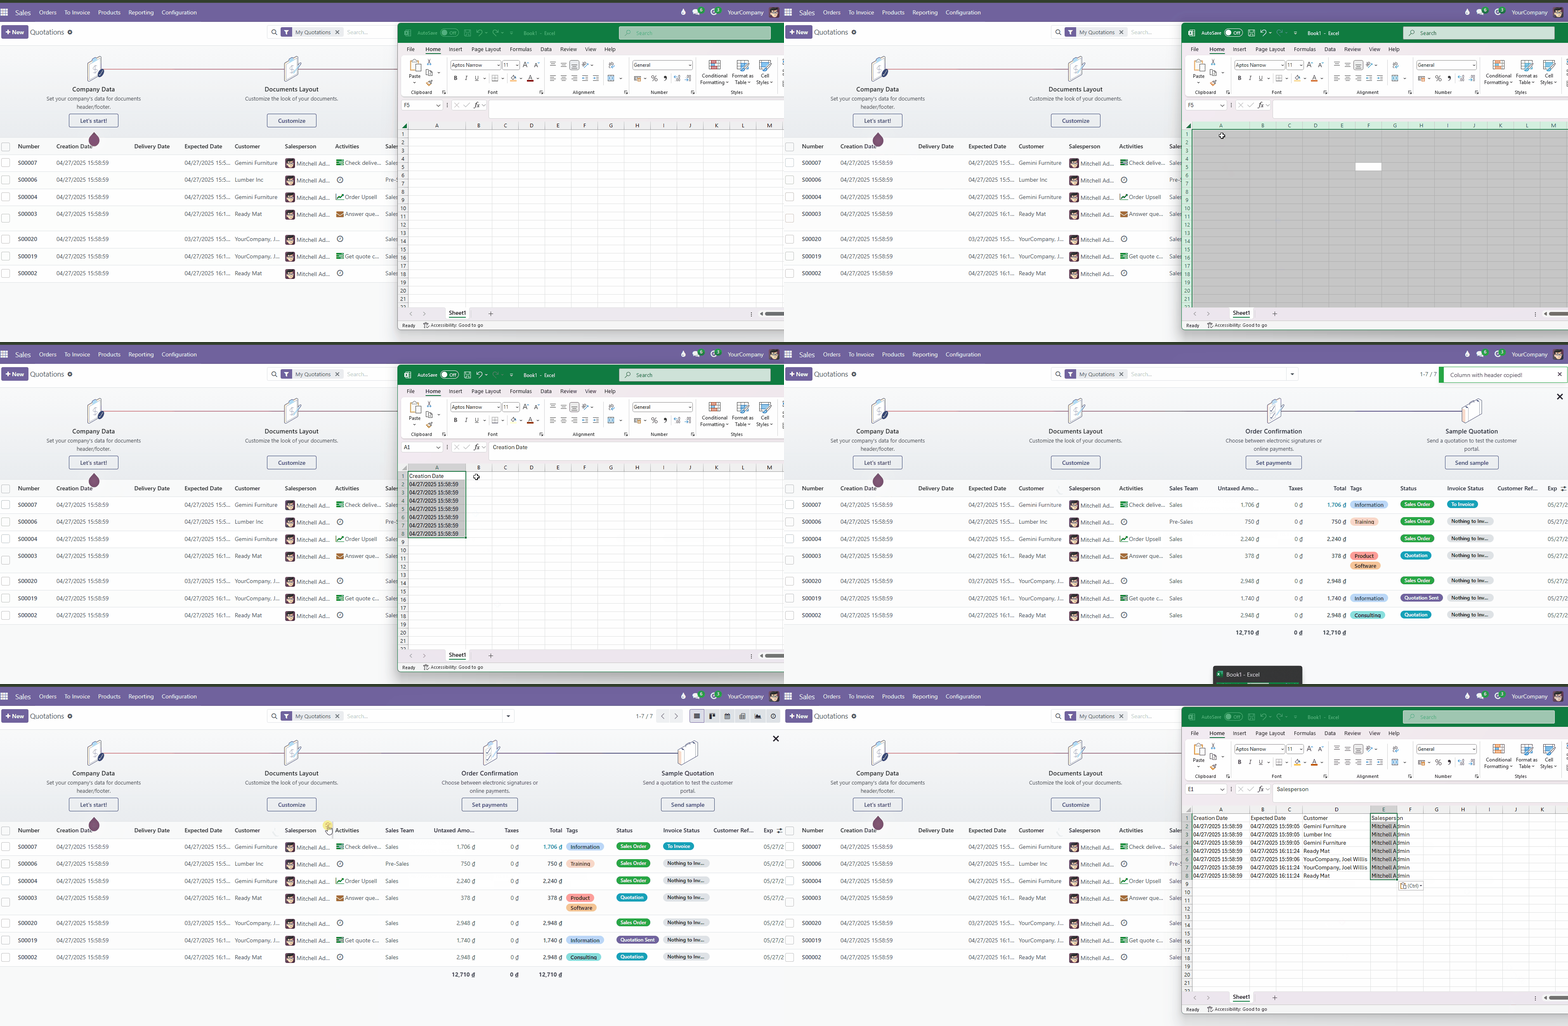
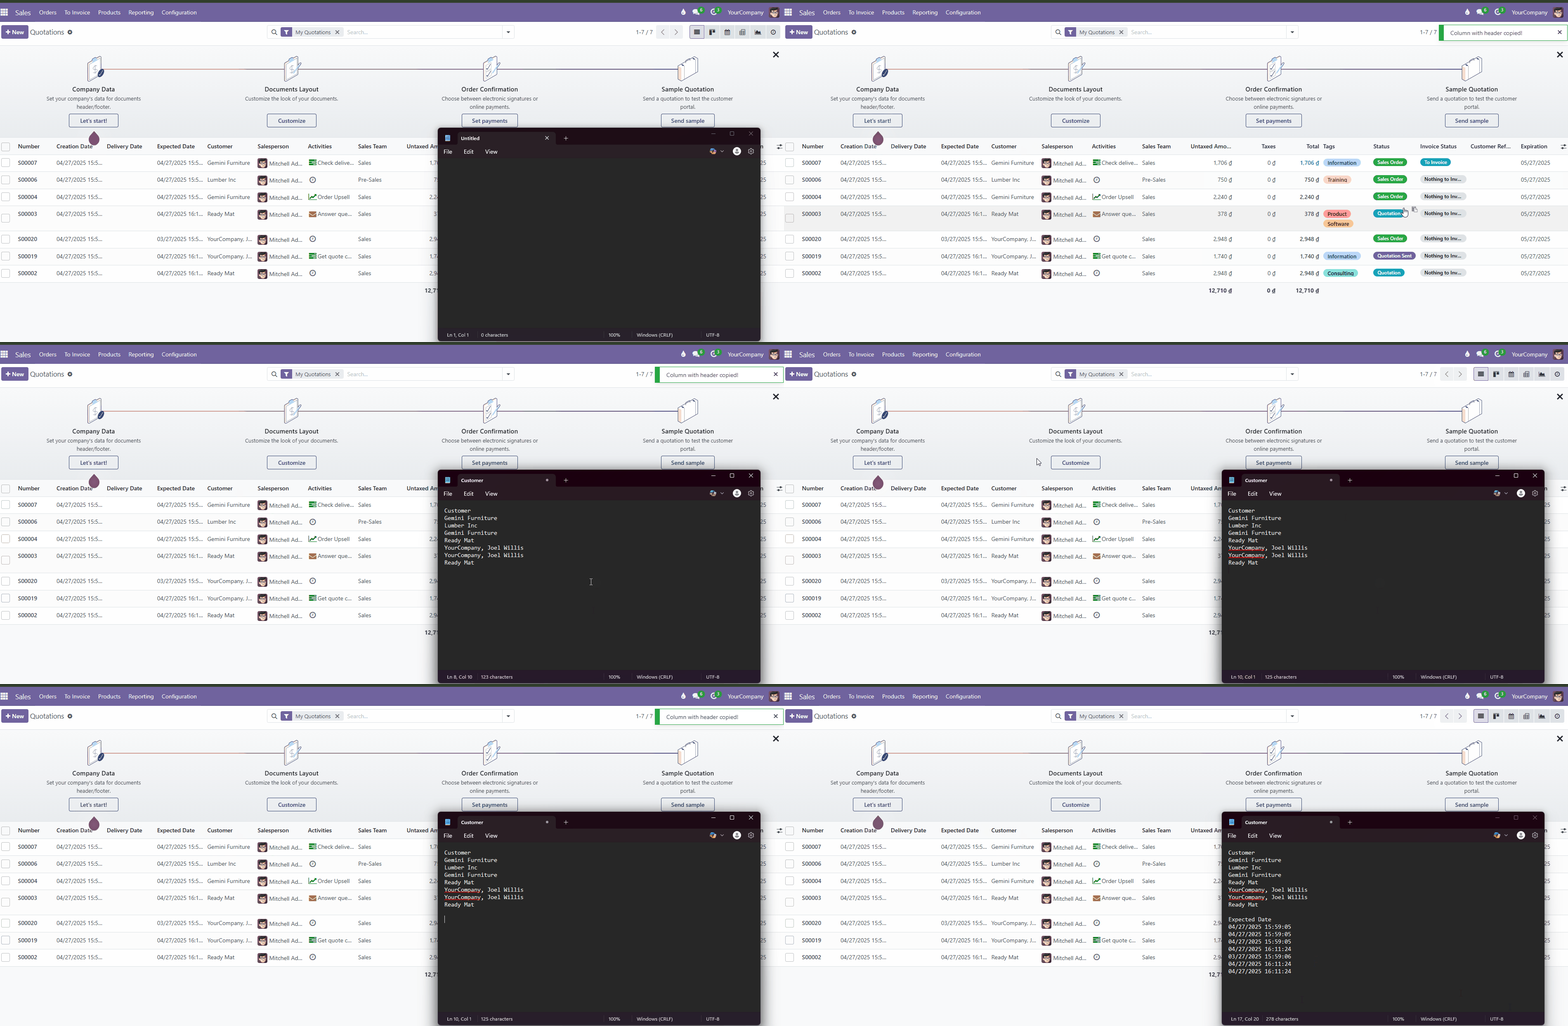
That's why I built List View Copy Cell: hover a cell and click the clipboard icon to copy it, or click a column header to copy the whole column - one value per line, ready to paste into Excel or Google Sheets.
Which option should you use?
- Full report of the current list → Export All.
- Specific fields, CSV, or data to re-import → Export dialog.
- A few values or one column right now → copy from the list view.